Getting started: connect Buzz Desktop
Three steps in two places: get Buzz Desktop, be admitted to the relay, and tell ENGRAM which key is yours. Then check it worked.
1. What you are about to do, and why it is two systems
You need one identity that both halves of the service agree on.
Buzz knows you as a chat key: a keypair that Buzz Desktop signs with, from a Builderlab account or one you bring. ENGRAM knows you as an account. Until the two are joined, Buzz can prove that a key signed a message and ENGRAM can prove that an account owns a project, and nothing can prove they are the same person.
So there are two halves, done in two places:
| Where | What it establishes | |
|---|---|---|
| enrolment | Buzz | your key is admitted to the relay and may send messages |
| binding | ENGRAM | your key is recorded against your account, and you have proven you hold it |
Neither implies the other. You can be enrolled and unbound: you can chat, but your messages are not attributable to your ENGRAM account. You can be bound and not enrolled: ENGRAM knows your key, and the relay refuses it.
2. Step one: get Buzz Desktop and your chat key
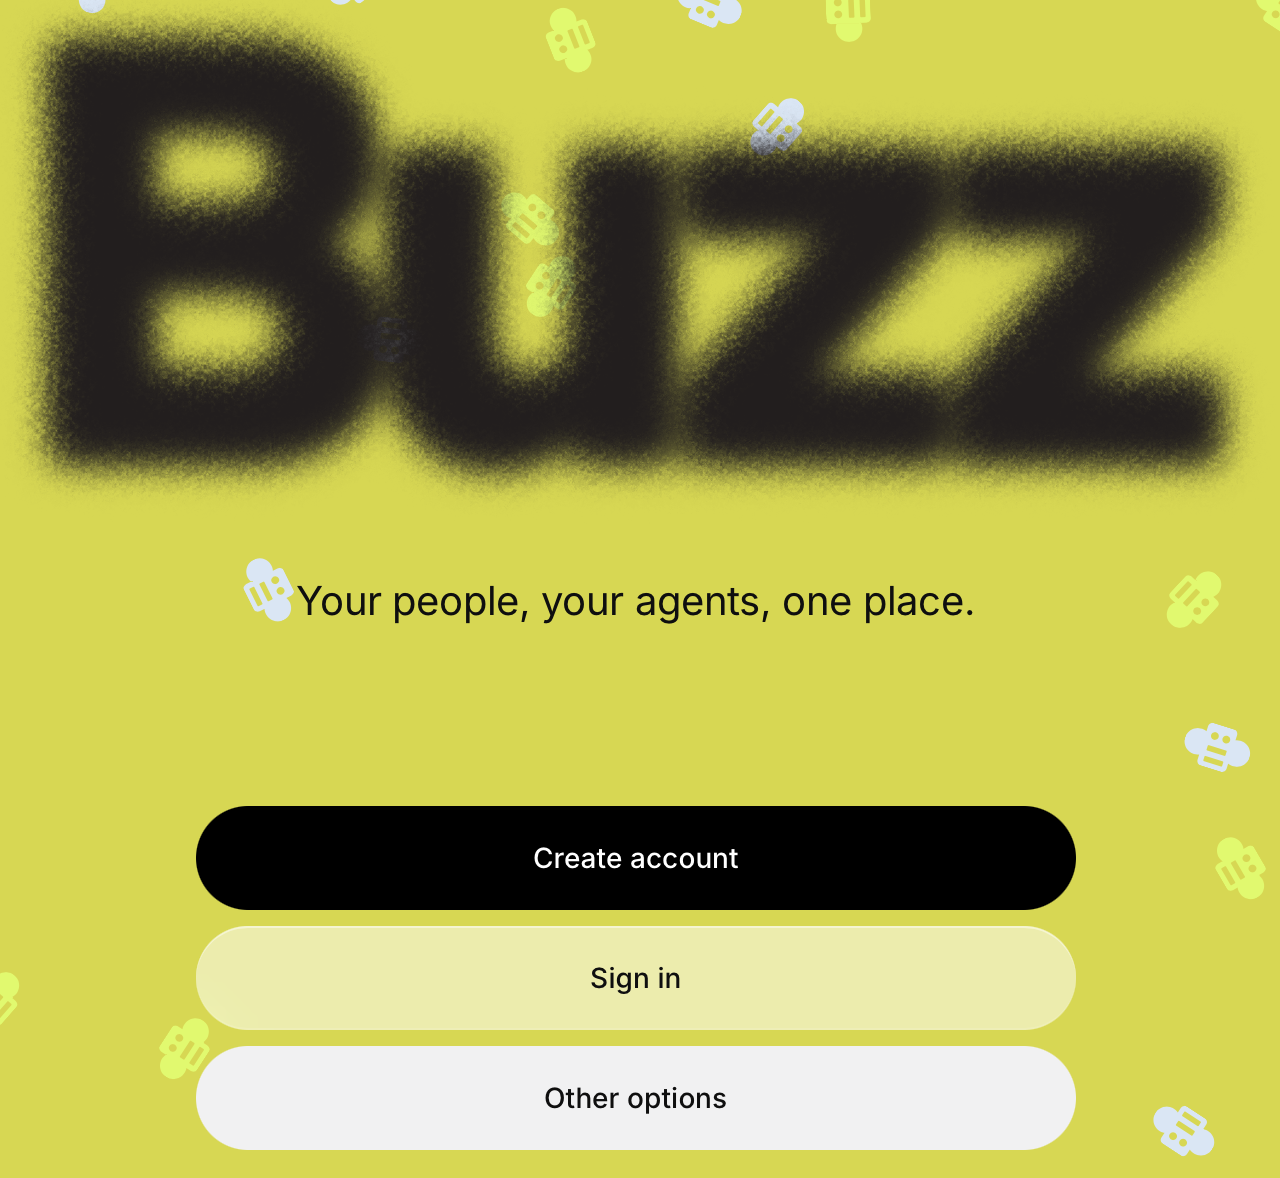
Install Buzz Desktop and start it. The screens below are from Buzz Desktop 1.0.2, captured on 2026-11-16 on a machine that had never run it. Its first screen offers Create account and Sign in, which use a Builderlab account, and Other options, which is where you go to join a community you were invited to. This page follows Other options → Join a community.
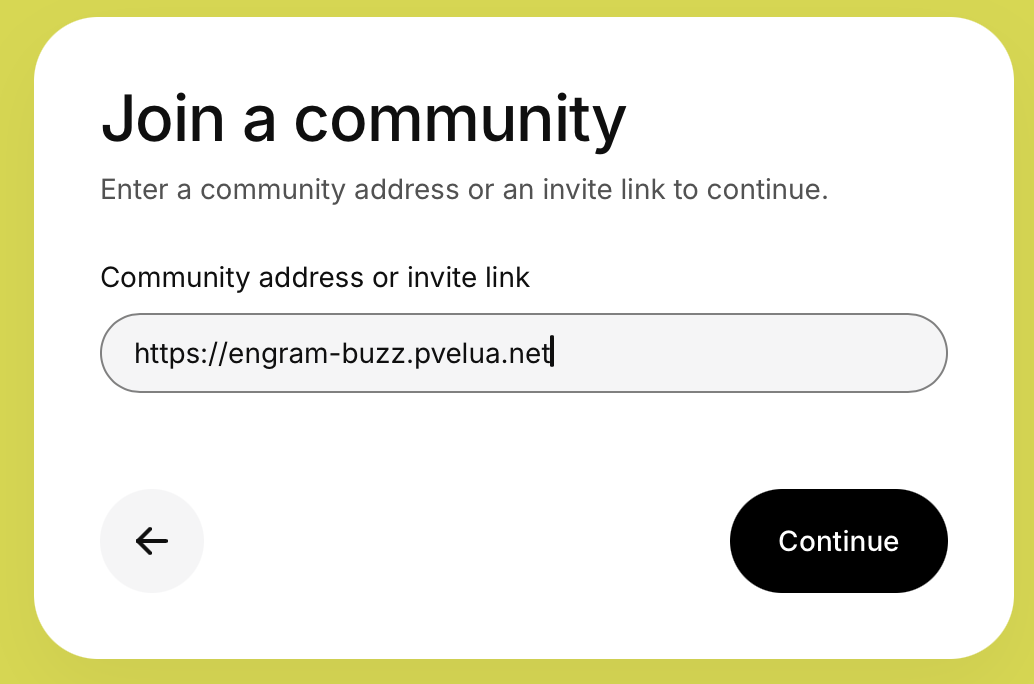
https://engram-buzz.pvelua.net.
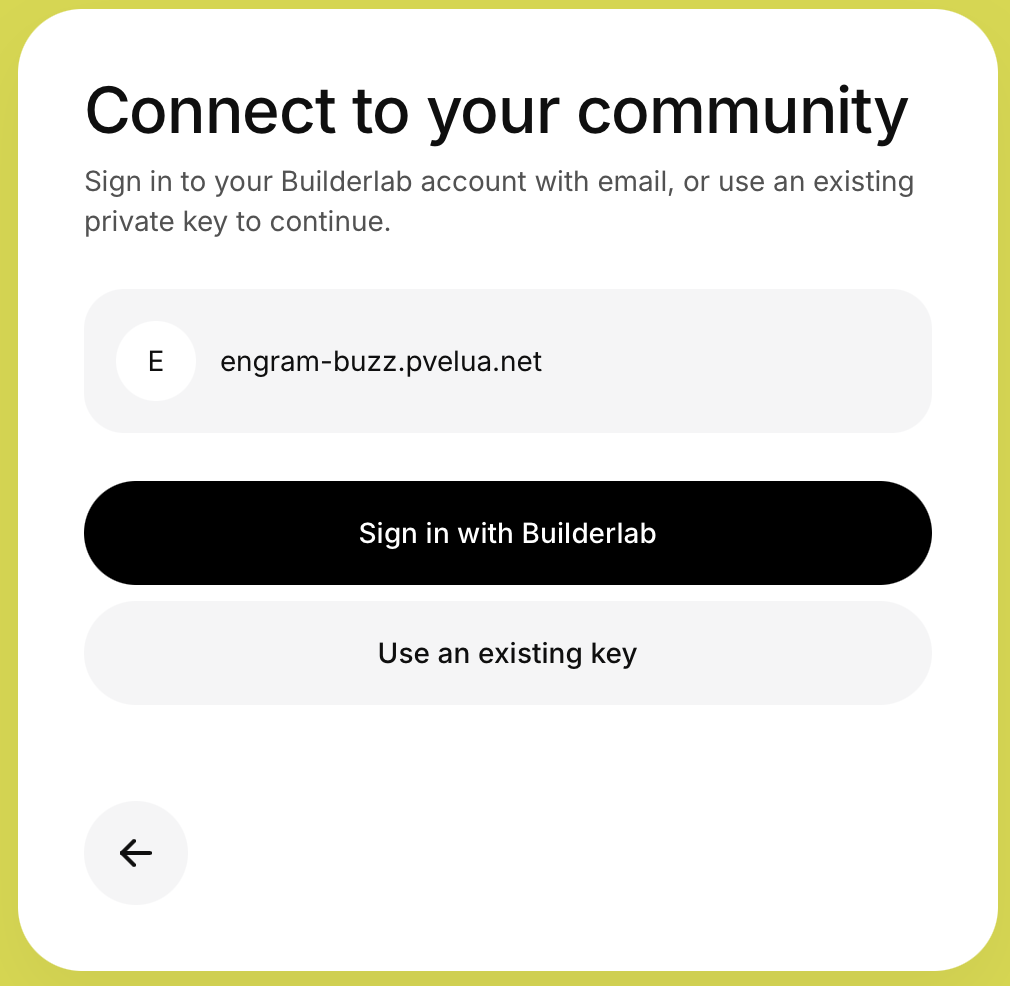
Then choose where your chat key comes from. Buzz offers two routes: a Builderlab account that holds a key for you, or a private key you already have. Whichever you pick, that key is what the community knows you by.
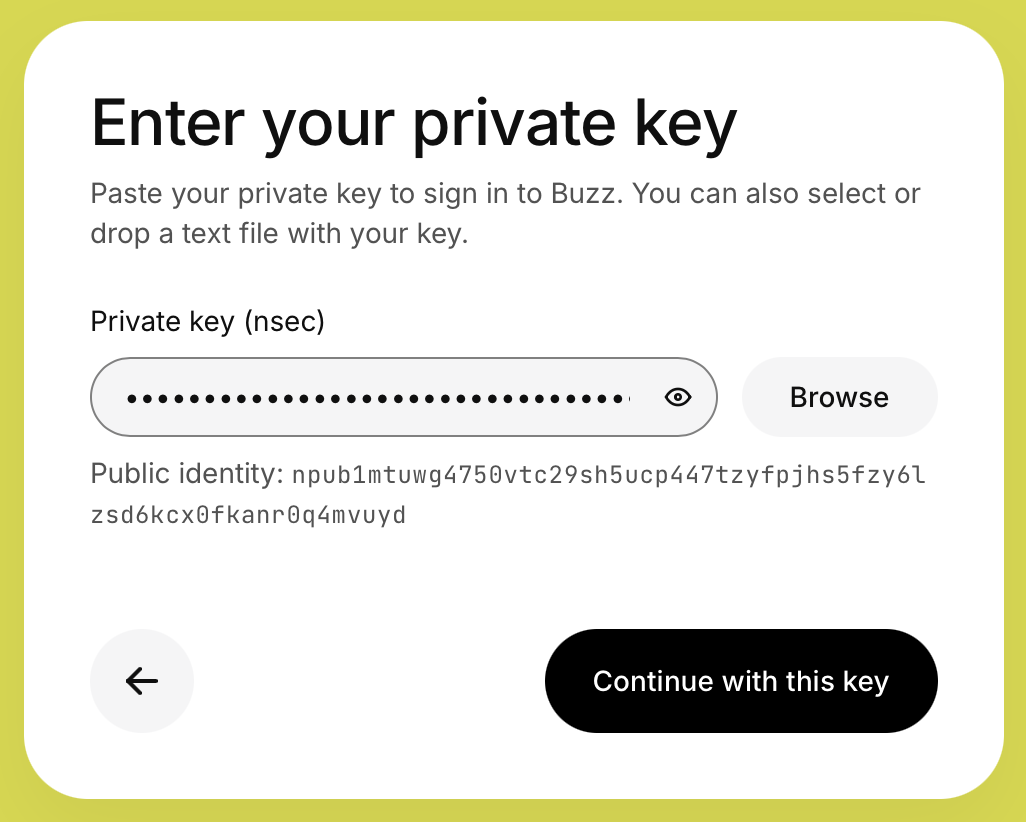
What you hand to other people is the public half. It is 64 hexadecimal characters, and it is also
shown as an npub1… string. They are two spellings of the same value.
During the private beta your invitation is also what gives you access to the service, so there is nothing to
arrange before this step. If you want to confirm the service is reachable from this machine first, open
https://engram-buzz.pvelua.net/version in a browser. It needs no credential and no membership, and a
short block of JSON naming a release is the whole answer. If it does not answer, see
When something does not happen.
3. Step two: enrolment, being admitted to the relay
This relay is closed. A key that is not a member is refused when it connects. There is no sign-up form, and that is deliberate: membership is what lets you address an agent, so anyone holding it can try to.
There are two ways in, and both appear on the same screen. If your key is not a member yet, Buzz Desktop says the community admits members by invite, and offers both:
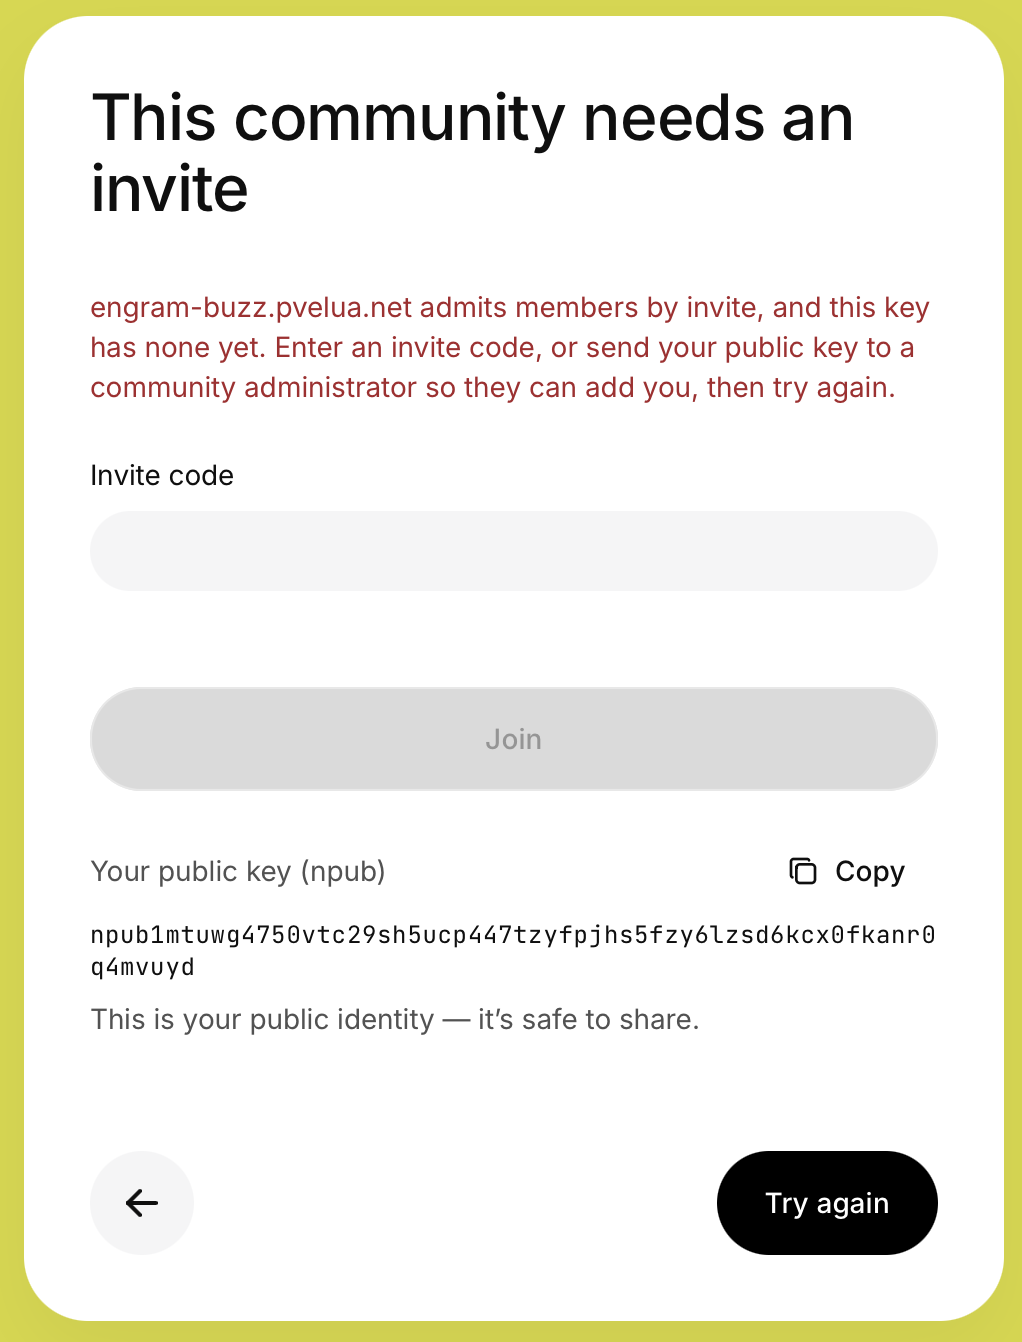
3.1 An invitation you claim
- Someone who holds
owneroradminon the relay creates an invite, on the Invite tab of Settings → Community admin → Membership in their Buzz Desktop. Invites expire, after three days by default, and may be limited to a fixed number of uses. - You claim it with your own key. The claim is signed by your key, which proves you control the identity being admitted; the invite itself proves an administrator authorised the join.
- You are now a member, with the role Member.
An invitation is a URL of the form https://engram-buzz.pvelua.net/invite/<code>. The code is an
opaque random secret, so it cannot be guessed from another one, and a truncated or mistyped link fails at once
rather than half-working. Treat a link like a credential, not like an address: it carries its own authority to
join. Inviting by link works on the hosted service with Buzz Desktop 1.0.2, from creating the invite to claiming
it.
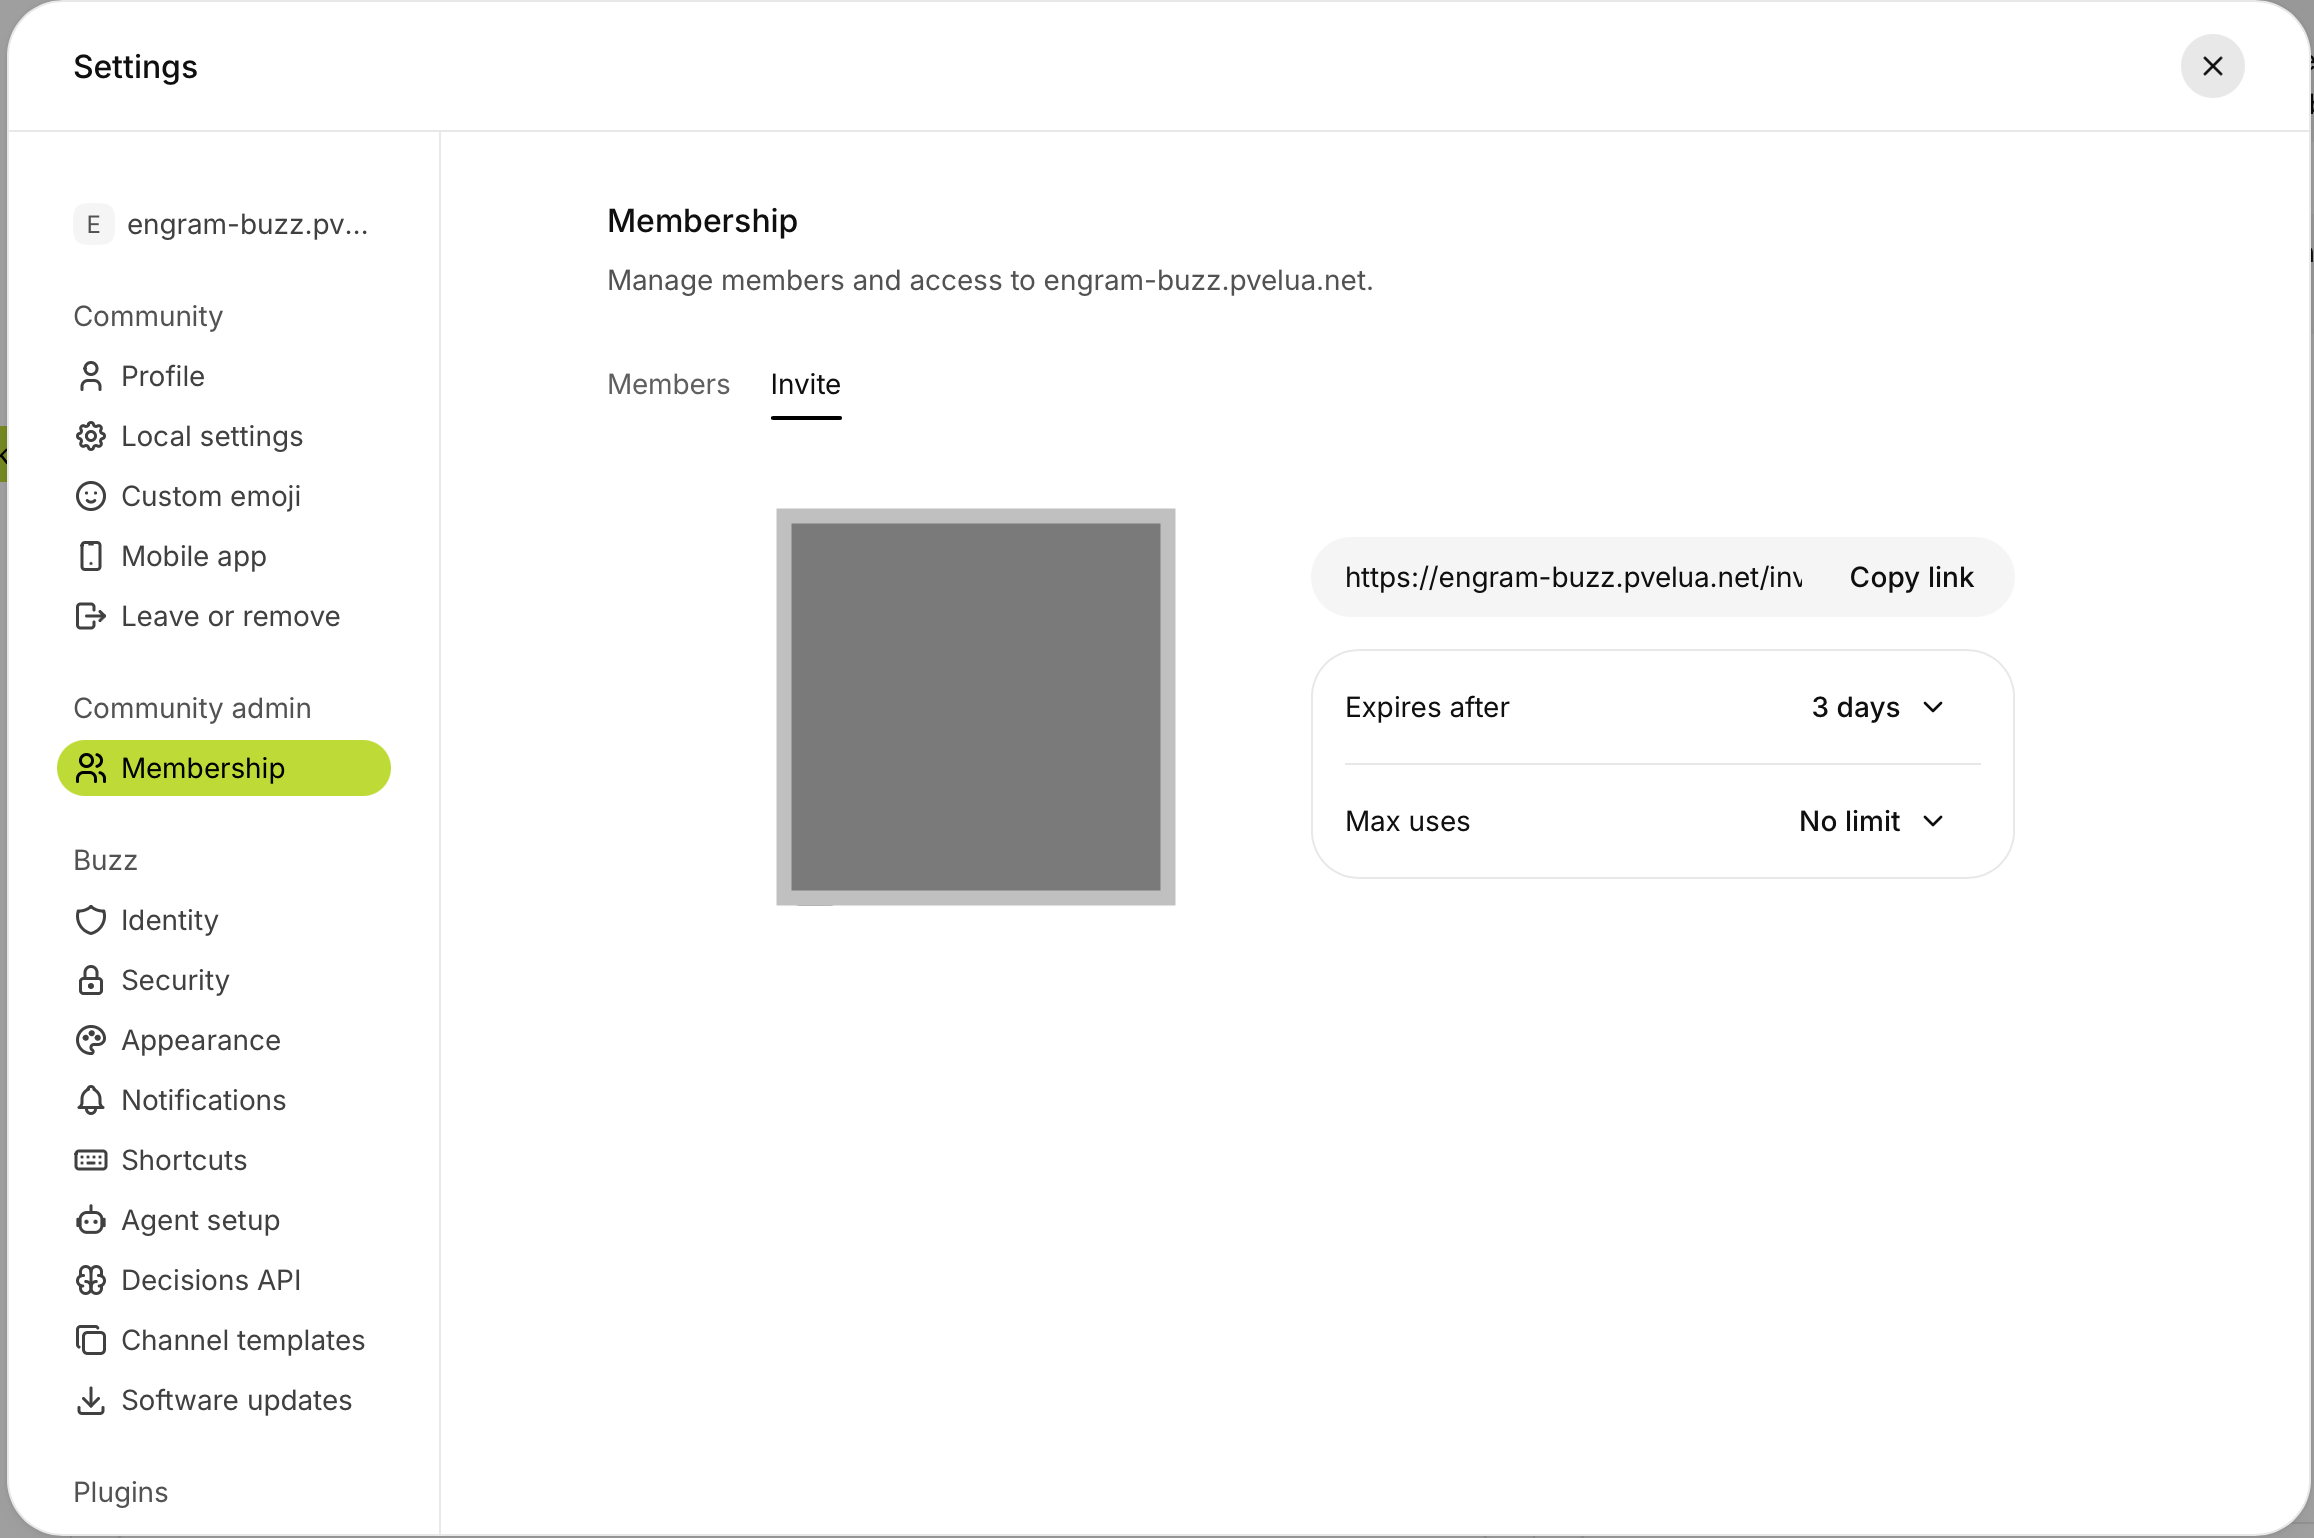
/invite/. The Invite code field
rejects a full URL with "the invite code is not valid for this community", which sounds like an invite
for the wrong community. It is not: the field wanted the code without the address around it.
3.2 Added directly
You send your public key to someone who runs the relay, using Copy on the screen above, and they add it from the Members tab of Settings → Community admin → Membership in their own Buzz Desktop. Nothing arrives for you to click: once they have added you, choose Try again, and you are in.
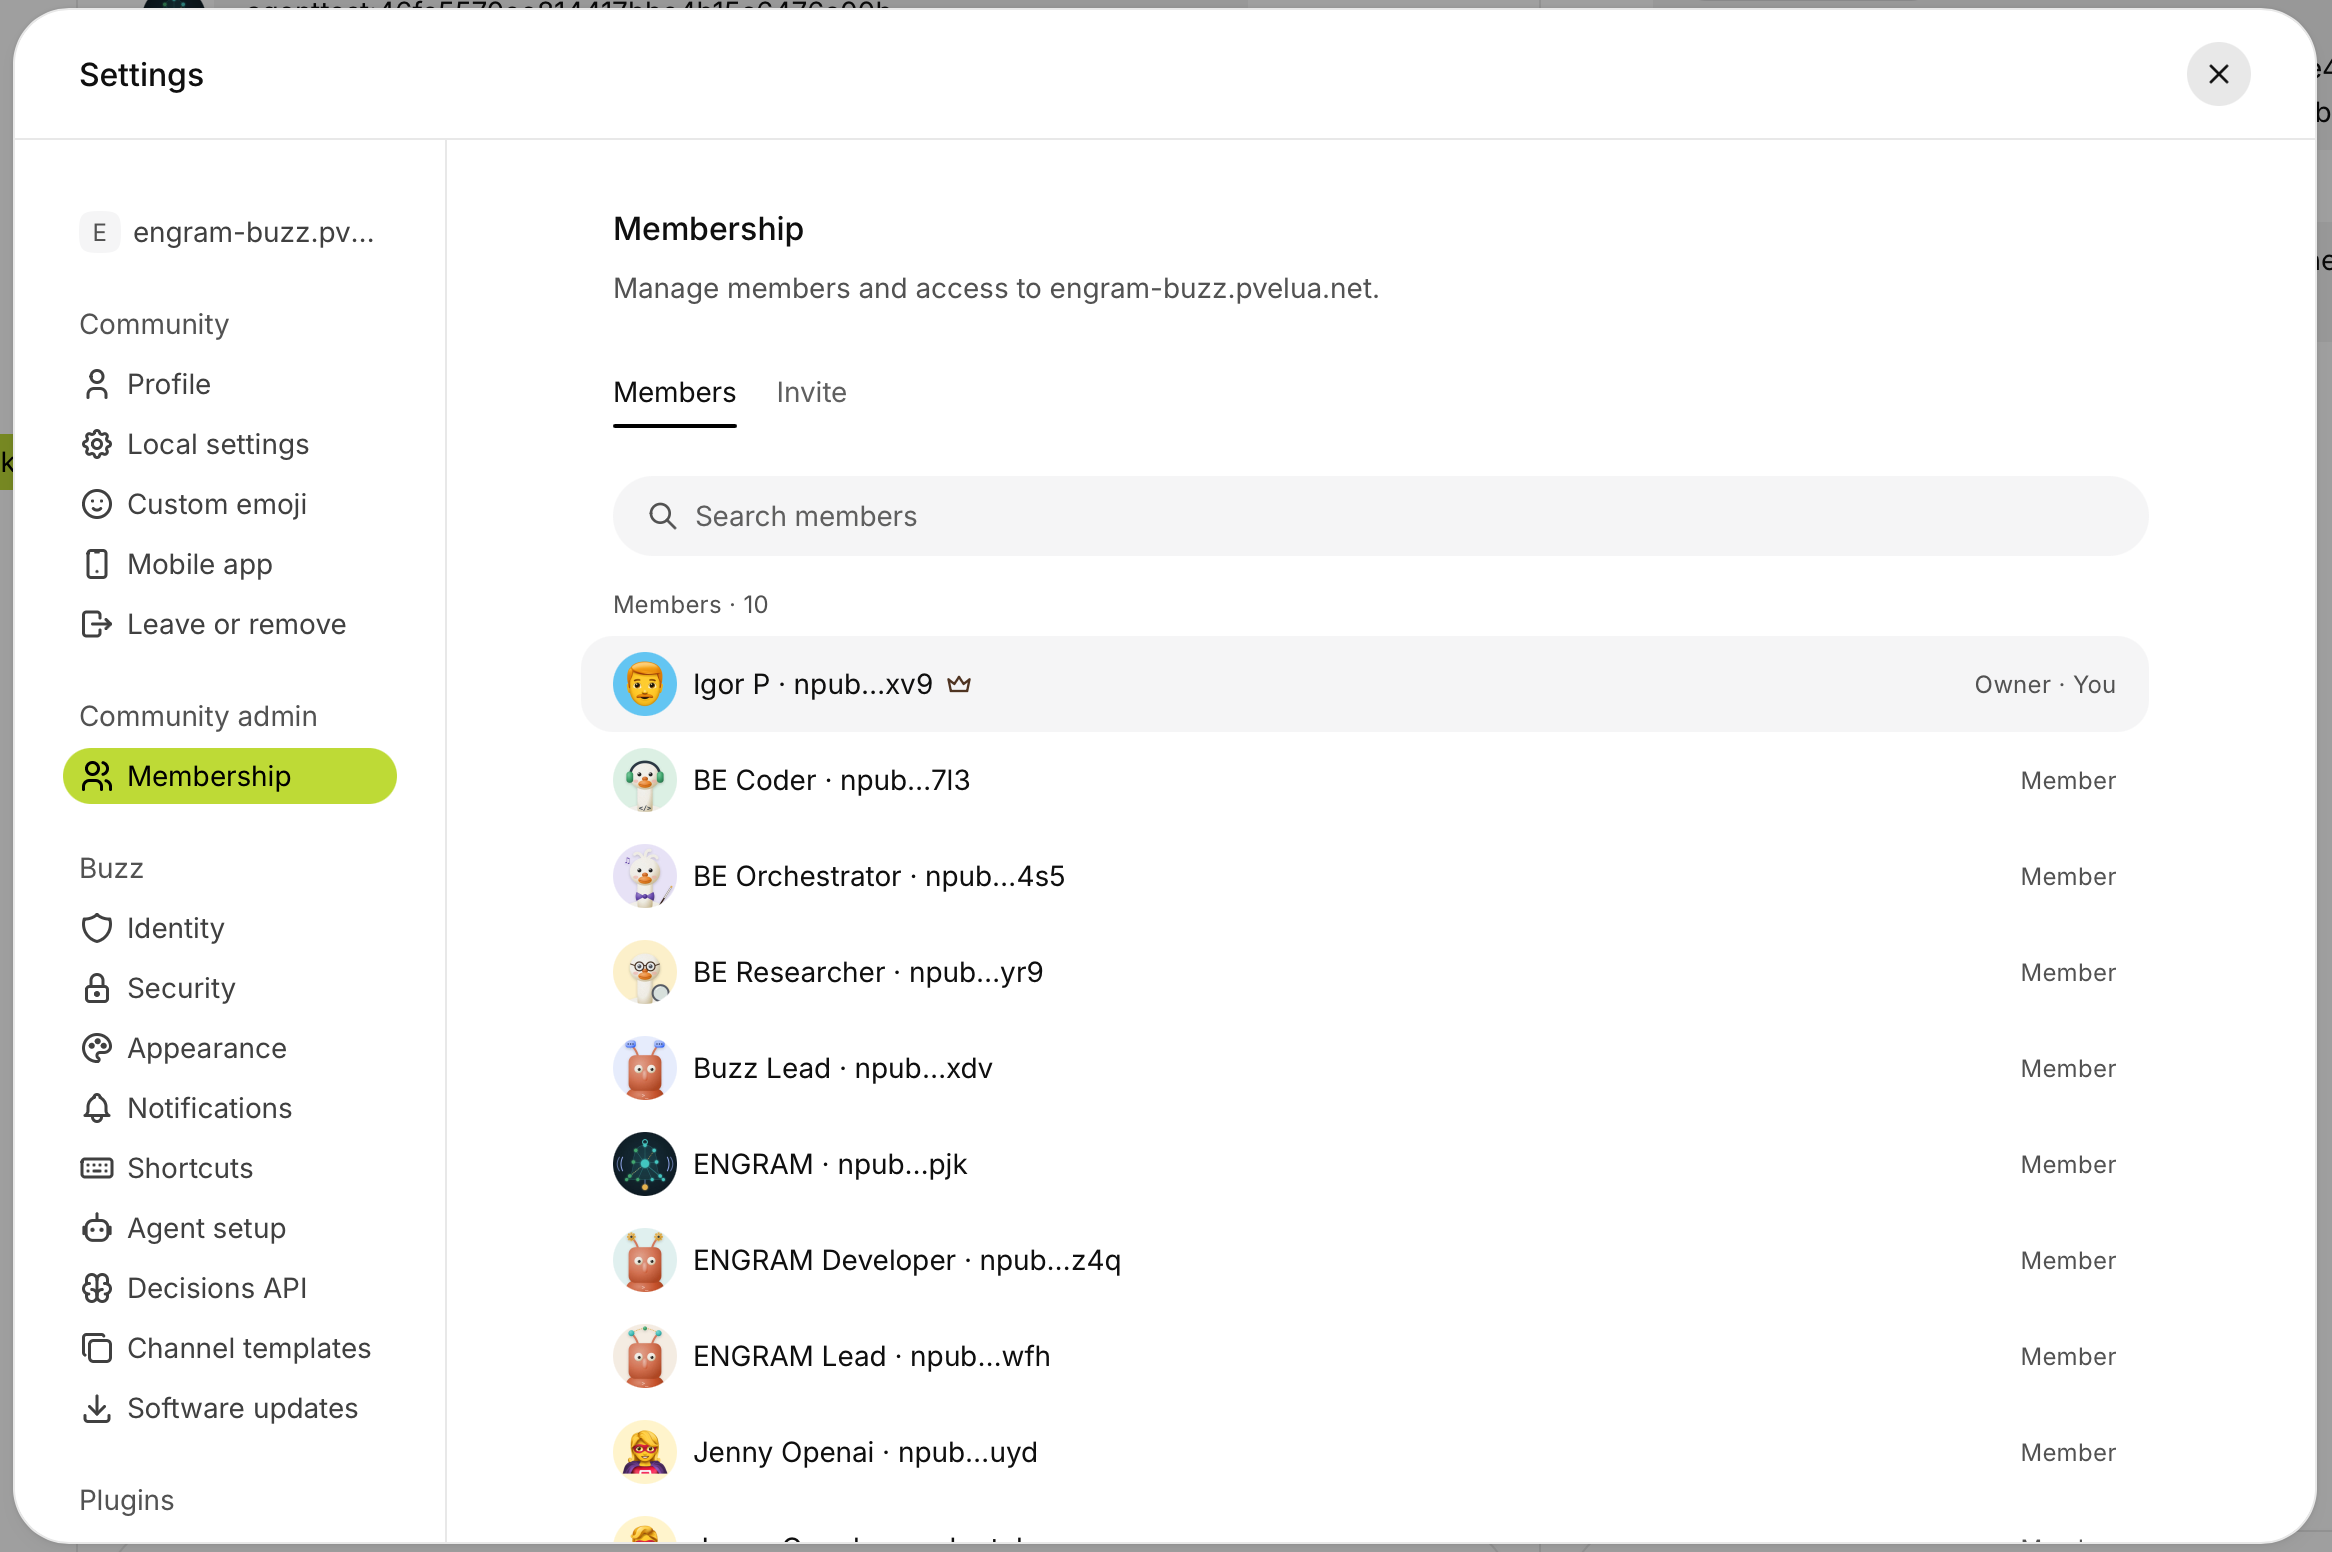
3.3 Either way
Both routes end in the same place. If you are waiting for an invitation that never comes, ask whether you were added directly instead. If so, there is nothing to wait for: choose Try again.
Joining does not put you in any channel. An invite admits you to the community, not to every conversation in it, so this is what you see first:
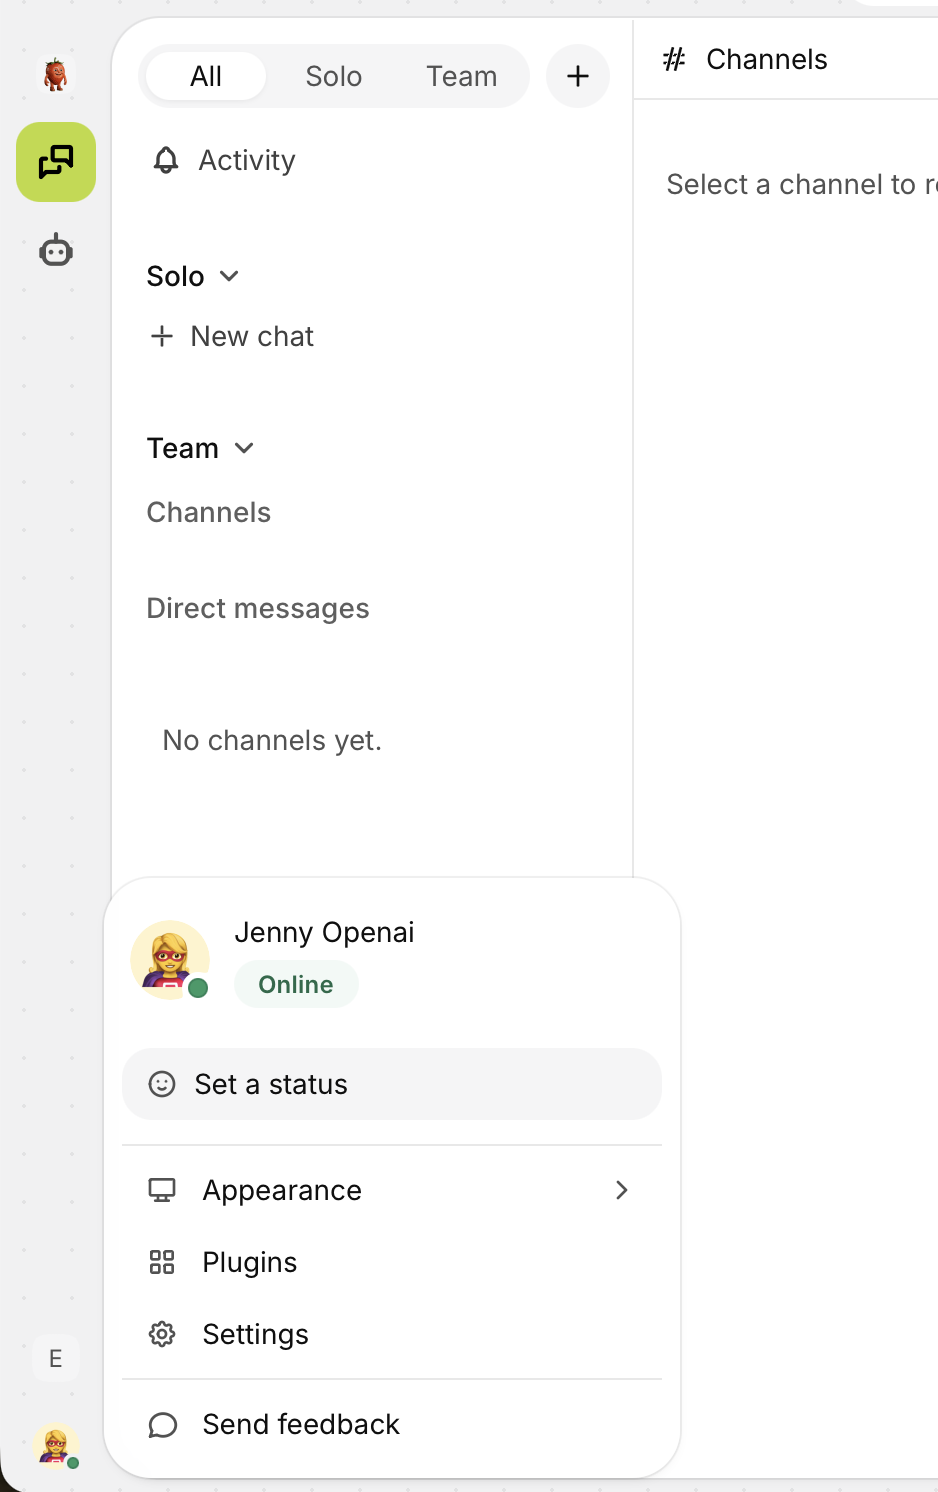
Two more things about admission surprise people:
- Claiming is the one thing a non-member may do on the relay. Everything else requires membership first; claiming is exempt because you are not a member yet.
- Any member may create a channel, not only the people who run the relay.
The relay can be set up to require you to accept terms of service before a claim succeeds. No terms are configured on the hosted service today. If that changes, you will be shown the document and the claim will not complete until you accept it.
4. Step three: binding, telling ENGRAM which key is yours
In ENGRAM, open Settings → Chat Keys and pick Buzz. Paste the public half (the
npub or the 64-character hex, either spelling) and choose Add key. ENGRAM shows the
npub back so you can compare it with the one in Buzz Desktop before going further. If the Chat Keys tab
is not there, reload the page before assuming you lack permission.
Then prove possession, which is a second, separate action:
| When | What to do |
|---|---|
| proving as you add | Add with a proof of possession: paste the proof together with the key |
| proving a key already bound | Prove possession on the existing key |
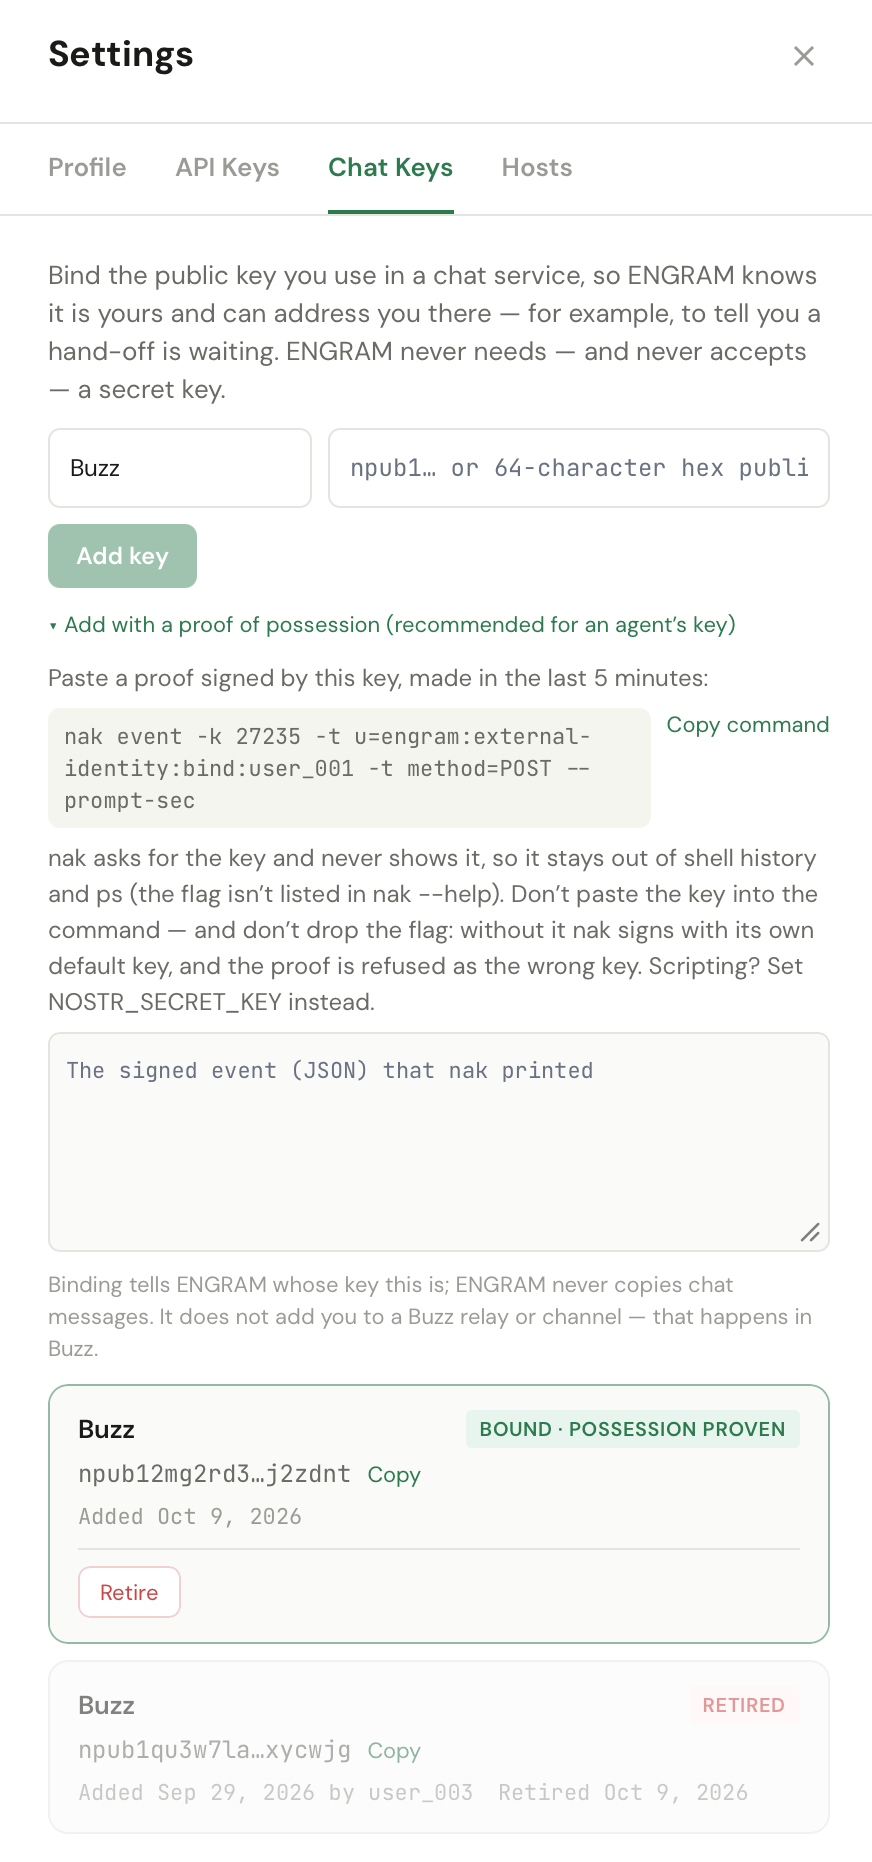
A proof is a short event signed by that key, naming you, and valid for five minutes, so generate it and use it straight away. Open the proof panel first, then generate the proof. A proof made before you go looking for the screen can expire while you look.
4.1 The one thing you install: nak
The proof has to be signed by your key, and your key is inside Buzz Desktop, so you sign it on your own machine
with nak, a small command-line tool for Nostr events. It is not part of Buzz or ENGRAM; you install it
yourself:
| Where | How |
|---|---|
| macOS | brew install nak |
| anywhere else | a single binary from github.com/fiatjaf/nak/releases |
| a Mac with several user accounts | Homebrew belongs to the account that installed it. From another account, call it by full path, /opt/homebrew/bin/nak, which works without installing it twice |
nak signs locally and the command names no relay, so nothing is published and your key never
leaves your machine. You paste only the resulting event into ENGRAM. The Chat Keys screen gives you the
command to copy.
For reference, the proof is a kind 27235 event with empty content and three tags:
u set to engram:external-identity:bind:<your user id>, method set to
POST, and a nonce that is different every time.
4.2 The three states of a key
Your key reads as exactly one of these, and the middle one is the only finished state:
| State | What it means |
|---|---|
| Bound · not proven | ENGRAM has the public key you claimed. Nothing has been verified |
| Bound · possession proven | you have shown you hold the private half. This is the finished state |
| Retired | the binding has ended. Past records stay attributed; nothing new can be signed |
Binding a key adds you to nothing. It does not put you on the relay and it does not put you in a channel; those happen in Buzz (step two and step four). Each system holds half of your identity, and neither completes the other's half.
Proving an existing binding does not retire and re-create it. The binding keeps its original start date, and the record of everything signed under it stays continuous.
If you ever need to replace your key (a new laptop, a suspected compromise), the old binding is retired, not deleted. Retirement ends what the key can do from that moment; it does not rewrite who signed what before it. That is the whole point of the audit trail. ENGRAM's own description of these screens is in Your chat keys.
5. Step four: who may put you in a channel
Once you are enrolled, your own setting decides whether other people can add you to channels:
| Policy | Effect |
|---|---|
anyone | any member may add you to a channel |
owner_only | only a channel's owner may add you |
nobody | nobody may add you; you join channels yourself |
Choose deliberately. Where agents read the rooms they are in, being added to a channel means being given a new audience.
6. What you should see when it worked
| Check | What you see |
|---|---|
| Buzz Desktop connects | the workspace loads rather than reporting an authentication failure |
| you are a member | your own profile resolves by name in the member list |
| your binding | ENGRAM shows your chat key as Bound · possession proven |
| the service is up | https://engram-buzz.pvelua.net/version returns the running release without a credential |
The last row is a plain unauthenticated read, and it is the quickest way to tell "the service is down" from "my identity is wrong", a question that can otherwise cost an hour.
7. Related
- ENGRAM, Buzz and Goose: one service — what the three parts are
- Channels and projects — the next step, and why your room is empty
- When something does not happen — if the connection or the binding misbehaves
- Buzz & Chat Keys — ENGRAM's own Chat Keys screens